

A theme is simply a collection of files that define the look and feel of a website. It may contain some CSS, JavaScript, Image or video files. This post demonstrates how install, download and delete themes in Ghost.
There are two ways to add themes to a Ghost blog.
- From Admin dashboard - This is the easiest and preferred method.
- Upload a theme manually.
Add theme from admin dashboard
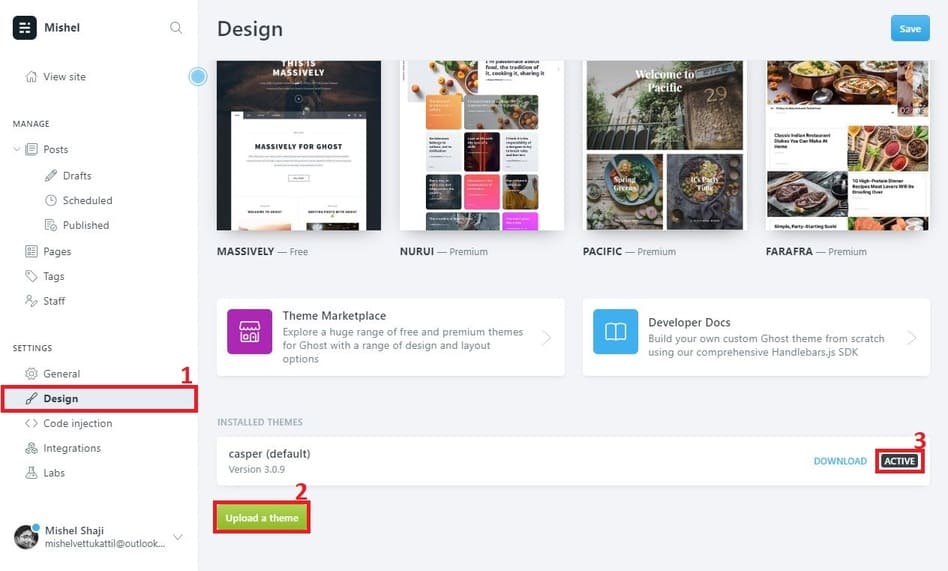
- Login to the admin dashboard of the Ghost blog and navigate to Settings -> Design and scroll to the bottom of the page. You will see the active theme listed there along with some options.
- Click on Upload a theme.
- Drag and drop the zip file of the theme to the upload area.
- After uploading the theme, click on Activate. This will apply the new theme for the blog.
Upload a theme manually
- Login to your VPS or dedicated server.
- Navigate to
content/themes/under the Ghost installation directory. Eg:cd /var/www/ghost/content/themes. - Download the theme using
wget.
Eg: wget https://wwww.site.com/mytheme.zip. - Unzip the file. Eg:
unzip mytheme.zip. - Login to the admin dashboard of Ghost and navigate to the bottom of Settings -> Design page. You can simply visit https://www.yoursite.com/ghost/#/settings/design.
- Scroll to the bottom of the page. You will see the theme listed there. From the options, Click activate.
This is how you can upload and activate a theme in Ghost. If you want to delete a theme, click on the Delete button.


