

In this post, we will learn about razor. Razor is a programming syntax used to create dynamic web pages using C sharp or VB.net. it allows you to write C Sharp code or VB code with the HTML markup. the razor syntax is separated from the HTML markup using @ symbol.
If you cannot follow this tutorial, use this GitHub repo as a reference.
 geekinsta
To track changes, see this commit.
Understanding Index component
The application that we created now contains three main components. They are:
- Index.razor
- Counter.razor
- About.razor
Index.razor is a component that serves as the default home page of our application. It is located in BlazorApp.Client/Pages.
Components are the building blocks of a blazer application. it can be a button, navigation bar, a footer or any reusable part of the application. We will learn more about competence later in this tutorial.
Here’s the content of Index.razor.
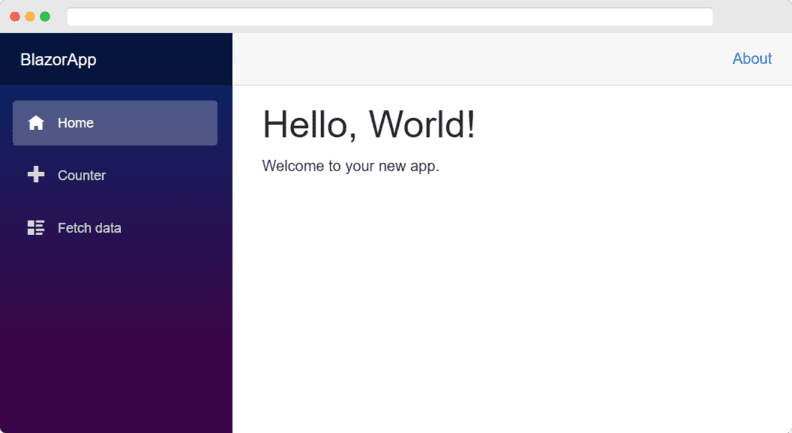
@page "/"

<h1>Hello, world!</h1>

Welcome to your new app.

<SurveyPrompt Title="How is Blazor working for you?" />
As you can see this code is a combination of standard HTML markup, C Sharp code, and some custom tags.
The first line starts with the @page directive. It defines the URL (or the route) at which this page can be accessed. The ‘/’ symbol means that this page is the root page of our application. So, this page can be accessed at https://localhost:XXXX/.
Now, let’s replace this code and learn more about Razor syntax.
The code block
The code block can be used to embed C# code in your component. A code block is created using the @code directive.
@code{
    // Write your code here.
}
You can declare variables or classes in the code block. Let me show you an example.
@code{
    string message = "Hello World";
}
In this code, I declared a variable named message and saved “Hello World” in it. But how will we display this variable in our index component? We can write the C# code along with HTML by prefixing the code with an @ symbol.
Replace the code of Index.razor as shown below.
@page "/"

<h1>@message</h1>

Welcome to your new app.

@code{
    string message = "Hello, World!";
}
Now, run the application by pressing Ctrl +F5.
Note that the text “Hello, World!” stored in the C# variable message was displayed in the HTML <h1> tag.
Declaring Functions
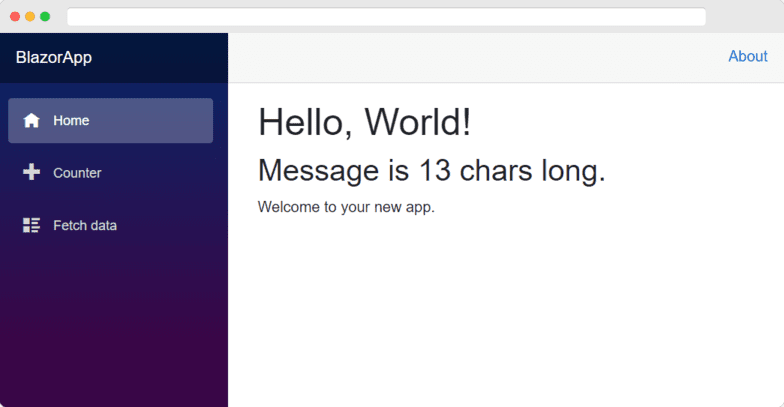
We can also declare functions in the @code block. Here’s an example. In this example, I am going to display the length of message in an h2 tag using a custom function.
@page "/"

<h1>@message</h1>
<h2>Message is @GetLength(message) chars long.</h2>

Welcome to your new app.

@code{
    string message = "Hello, World!";

    int GetLength(string text)
    {
        return text.Length;
    }
}
Note that in the h2 tag, we directly call our GetLength method and passed message variable as the parameter.
Explicit expressions
So far, we used the @ symbol to specify a C# code. But in some cases, the expressions may become larger. It may even have multiple lines. In such cases, we should explicitly specify the start and end of an expression by enclosing then within the () brackets.
Now, we are going to append a string to our variable message and display it in an <h2> tag.
<h2>@message + " Geekinsta"</h2>
When we run this code, we’ll get an output like this.
Hello, World! + " Geekinsta"Why did this happen? Here, we should explicitly specify the start and end of the C# expression by enclosing it in a pair of brackets.
@page "/"

<h1>@message</h1>
<h2>Message is @GetLength(message) chars long.</h2>
<h2>@(message + " Geekinsta")</h2>

Welcome to your new app.

@code{
    string message = "Hello, World!";

    int GetLength(string text)
    {
        return text.Length;
    }
}
Run your application and reload the browser to see the output.
Event handlers
In addition to binding data to HTML elements, we can also add event listeners. Let me show you how to handle the click event of a button using C#.
<button @onclick="@(() => message = "You clicked me")">Click Me</button>
Here, I created a button and displayed the text “Click Me”. We we click the button, the onclick event handler will execute. Click event handler in this code is an arrow function and it changes the value of the variable message to You clicked me”.
Run (Ctrl + F5) or build (Ctrl + B) the project and click the button. Text displayed in the h1 tags will be changed to “You clicked me”.
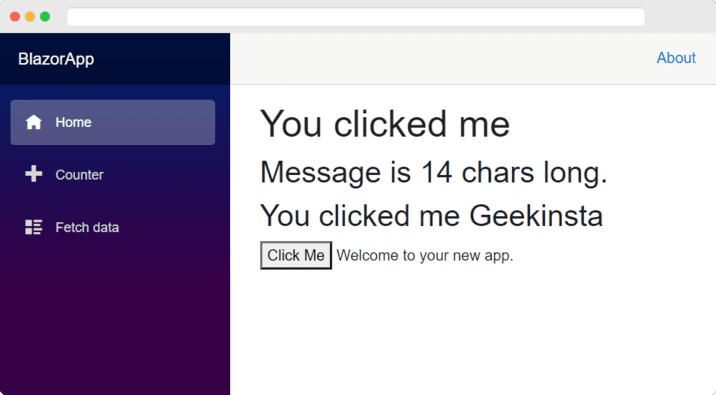
Now we have created an interactive application without using JavaScript.
Declaring classes
In addition to methods and variables, we can also declare classes in our component using Razor syntax.
@page "/"
<h1>@message</h1>
<h2>Message is @GetLength(message) chars long.</h2>
<h2>@(message + " Geekinsta")</h2>
<button class="btn btn-primary" @onclick="@(() => message = "You clicked me")">Click Me</button>
<button class="btn btn-success" @onclick="@(() => MyClass.WriteToConsole())">Write to console</button>
Welcome to your new app.
@code{
string message = "Hello, World!";
int GetLength(string text)
{
return text.Length;
}
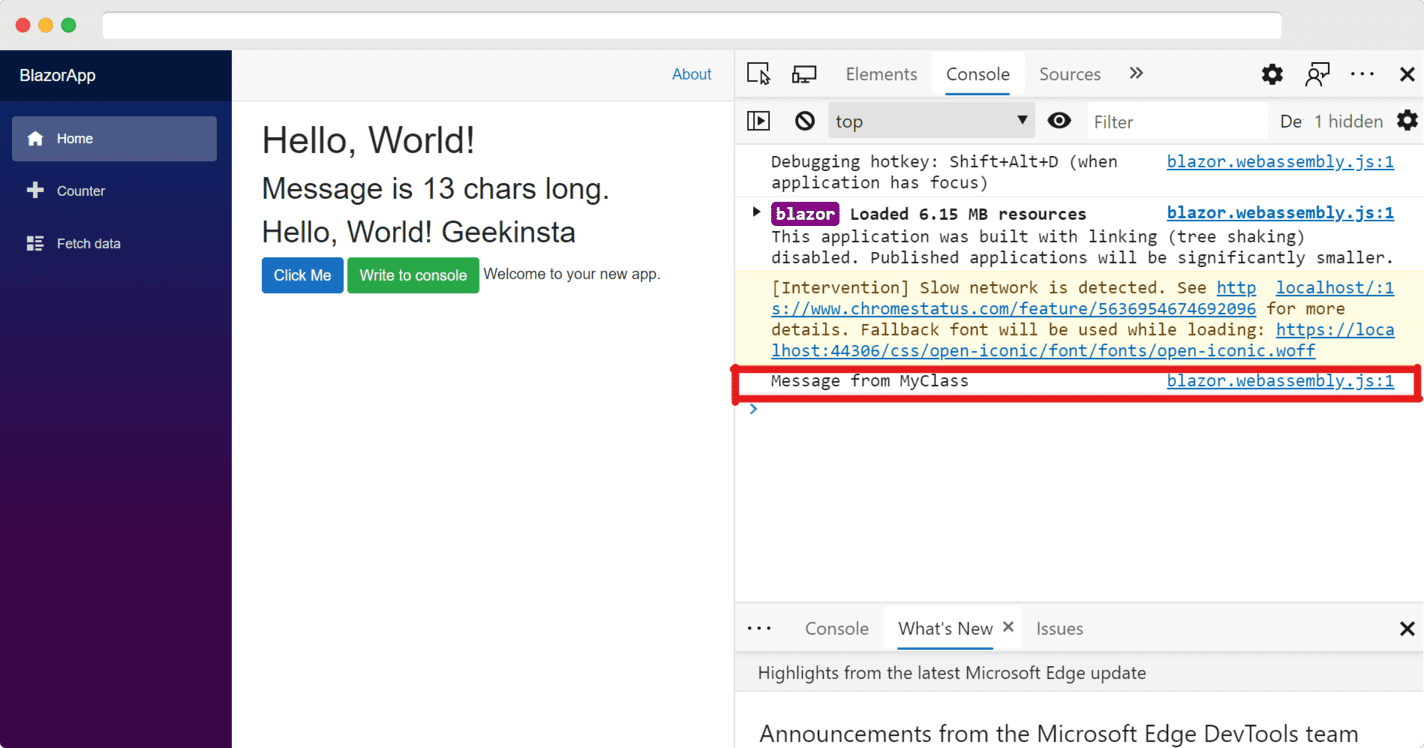
public class MyClass
{
public static void WriteToConsole(string text = "Message from MyClass")
{
Console.WriteLine(text);
}
}
}
In this example, I created a class named MyClass and a button with text Write to console. When we click on the button, a static method named WriteToConsole is called and a message will be displayed in the browser’s console.
Reusable classes
The class that we created just now is accessible only in our Index component. We cannot use this class in other components. Let’s make this class reusable.
In the BlazorApp.Client project, create a new folder named Helpers. This is where we will keep all our reusable classes and helpers.
Then add a class file named ConsoleHelper.cs and copy the content of our current class to it.
ConsoleHelper.cs
using System;
using System.Collections.Generic;
using System.Linq;
using System.Threading.Tasks;

namespace BlazorApp.Client.Helpers
{
    public class ConsoleHelper
    {
        public static void WriteToConsole(string text = "Hi form Blazor App")
        {
            Console.WriteLine(text);
        }
    }
}
Now, add reference to the ConsoleHelper class in our Index component just below the @page directive.
@using Helpers;
Create a button and a call the WriteToConsole() method from its click event.
<button type="button" class="btn btn-info" @onclick="@(()=> ConsoleHelper.WriteToConsole())">Call console helper</button>
Run the application and click the button. The text will be displayed in the browser console. To open the console, press Ctrl + Shift + I or Right-click anywhere in the page -> select Inspect element -> Console.
If you forgot to add a reference to our Helper namespace, you will get an error when you try to run the application. If your code is not working as expected, refer the code in the repository.
Adding reference to the ConsoleHelper class in each and every components (if needed) is not a good practice.
In the BlazorApp.Client project, have you noticed a file named _Imports.razor? In this file, we can add reference to namespaces that are commonly in the components of our application.
Therefore, add a reference to our Helpers namespace in this file so that we no longer have to add a reference to this namespace in each component.
@using System.Net.Http
@using System.Net.Http.Json
@using Microsoft.AspNetCore.Components.Forms
@using Microsoft.AspNetCore.Components.Routing
@using Microsoft.AspNetCore.Components.Web
@using Microsoft.AspNetCore.Components.WebAssembly.Http
@using Microsoft.JSInterop
@using BlazorApp.Client
@using BlazorApp.Client.Shared
@using Helpers;
Now, we can remove the reference to Helpers namespace from Index component of the app.
This is how you can create reusable classes that can be called from any component.
Comments
In razor pages, comments should start with @* and end with *@.
@* using Helpers; *@
Anything written as comments will not be executed.
Loops
How can we display a list of items in a component? For that, we can use loops. Let us learn how to write loops in razor syntax using an example. In this example, we are going to display a list of Customers and their details in our Index component.
In the @code block, create a new class named Customer with three properties Name, Email, and IsSubscribedToNewsletter.
public class Customers
{
    public string Name { get; set; }
    public string Email { get; set; }
    public bool IsSubscribedToNewsletter { get; set; }
}
Create a list of customers and store it in a List.
List<Customer> Customers = new List<Customer>()
{
    new Customer(){Name= "John Doe", Email="john@mail.com", IsSubscribedToNewsletter=true},
    new Customer(){Name= "Jane Doe", Email="jane@mail.com", IsSubscribedToNewsletter=true},
    new Customer(){Name= "Janet Doe", Email="janet@mail.com", IsSubscribedToNewsletter=false},
};
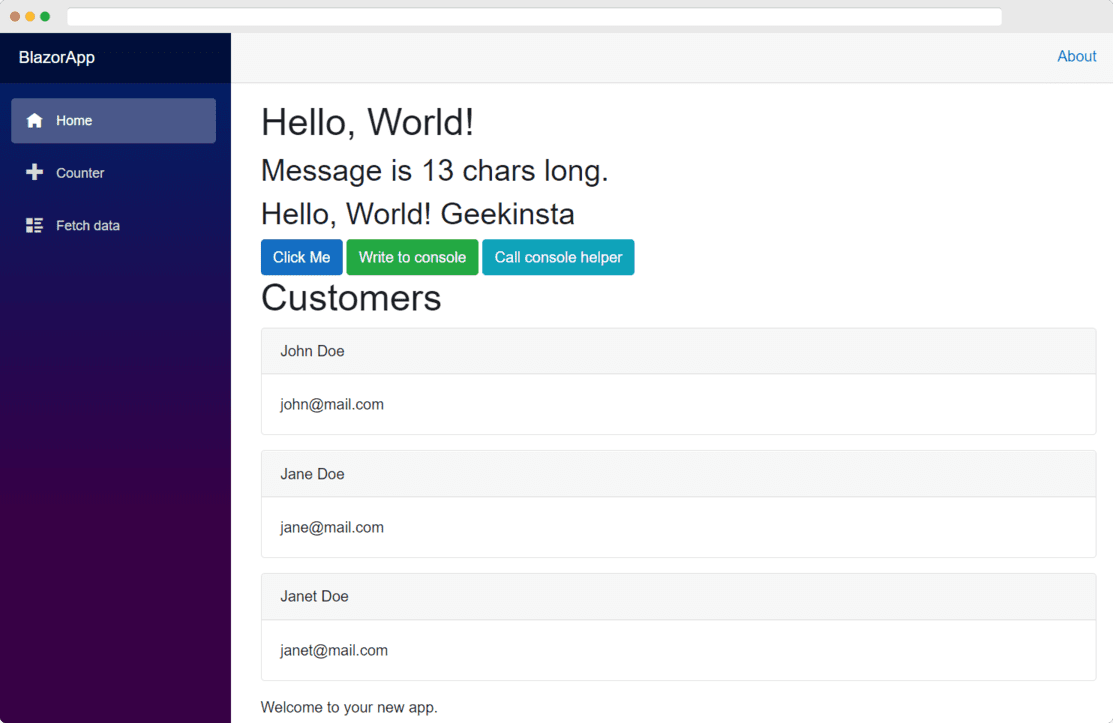
Next, we are displaying this List in the component using a foreach loop. You can use a for loop also.
<h1>Customers</h1>
@foreach(var customer in Customers)
{
    <div class="card mb-3">
        <div class="card-header">@customer.Name</div>
        <div class="card-body">@customer.Email</div>
    </div>
}
Run the application and reload the page to see the output.
Conditionals
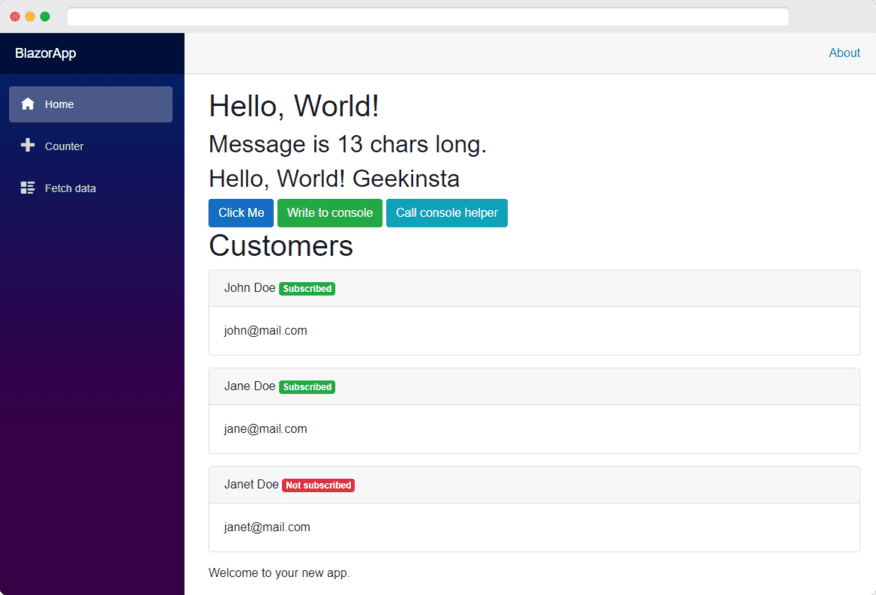
We can also use conditionals like if and else in the Razor syntax. In the above example, we simply displayed a list of customers and their email IDs. Now, let us use conditionals to display whether they have subscribed to the newsletter or not.
If a customer has subscribed to the newsletter, the status will be displayed in green color. Otherwise, the status will be displayed in red color.
So, let us make some changes to the code.
<h1>Customers</h1>
@foreach(var customer in Customers)
{
    <div class="card mb-3">
        <div class="card-header">
            @customer.Name
            @if (customer.IsSubscribedToNewsletter)
            {
                <span class="badge badge-success">Subscribed</span>
            }
            else
            {
                <span class="badge badge-danger">Not subscribed</span>
            }
        </div>
        <div class="card-body">@customer.Email</div>
    </div>
}
Have you noticed that I used the if conditional to determine the color in which the status is displayed?
In the next part of this tutorial, we’ll learn about components. If you have something to ask, let me know in the comments below.


