

So far, we’ve learned how to create a simple Flutter application and apply basic styles to the widgets. In this article, we’ll learn how to arrange the widgets as rows and columns on the screen.
Rows and Columns
In Flutter, you can arrange the widgets as rows and columns using the Row and Column widgets.
Row Widget
The Row widget places it’s child widgets horizontally stacked on the screen. This widget expects a widget array as it’s child elements.
Here’s the general structure of a Row widget.
Row(
  children: <Widget>[
    Element 1,
    Element 2,
    Element n
  ],
)
Now, let us add elements to the widget and see how they appear on the screen.
import 'package:flutter/material.dart';

void main(){
  runApp(
    MaterialApp(
      title: "My App",
      home: Container(
        color: Colors.indigo,
        child: Row(
          children: <Widget>[
            Text("IItem 1", textDirection: TextDirection.ltr,),
            Text("IItem 2", textDirection: TextDirection.ltr,),
          ],
        ),
      ),
    )
  );
}
In the above example, we’ve placed two text widgets as the child elements of the Row widget. Run the project and see how the Text widgets appear on the screen.
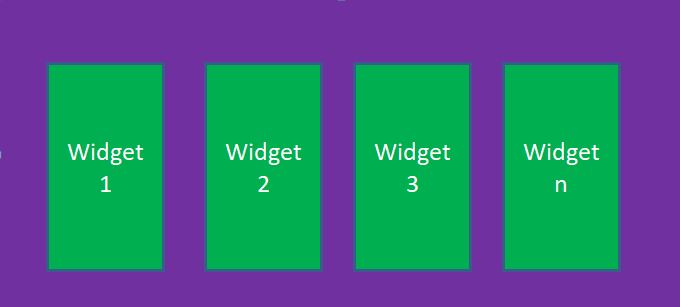
Column widget
The Column widget places it’s child widgets vertically arranged on the screen. This widget expects a widget array as it’s child elements.

The general syntax of a Column widget is not much different from the syntax of a Row widget.
Column(
  children: <Widget>[
    Element 1,
    Element 2,
    Element n
  ],
)
To see how the Column widget works, replace the Row widget wit Column widget as shown below.
import 'package:flutter/material.dart';

void main(){
  runApp(
    MaterialApp(
      title: "My App",
      home: Container(
        color: Colors.indigo,
        child: Column(
          children: <Widget>[
            Text("IItem 1", textDirection: TextDirection.ltr,),
            Text("IItem 2", textDirection: TextDirection.ltr,),
          ],
        ),
      ),
    )
  );
}
Run the project and find how the elements are arranged now.


